Setting Up a Wallet
Lava leverages the Cosmos SDK's bank and account modules for seamless integration with existing Cosmos wallets.
For your convenience, here are some popular wallet options:
- Keplr
- Leap
- For Advanced Users: CLI Wallet
- For Advanced Users: Other Wallets
Keplr Wallet
- Download and install Keplr for your platform from here.
- Follow the setup instructions in the Keplr extension. (Note: Hardware wallet support, tested with Ledger, is available).
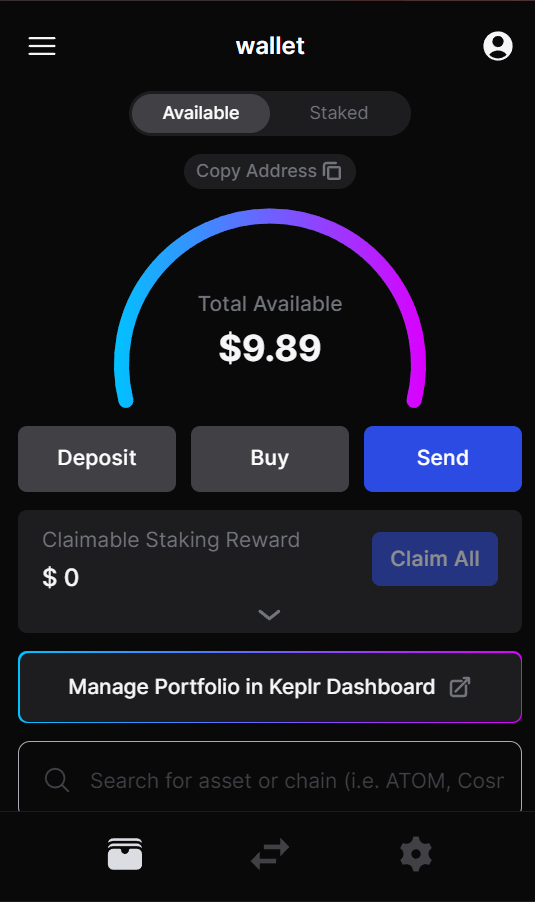
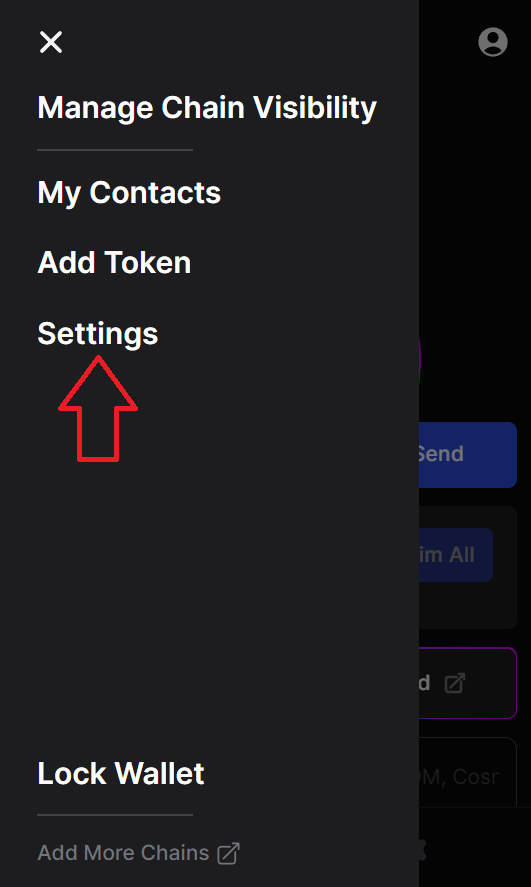
- Access the Keplr extension.
- If you create a new wallet it's possible to add Lava chain on the step "Select Chains":
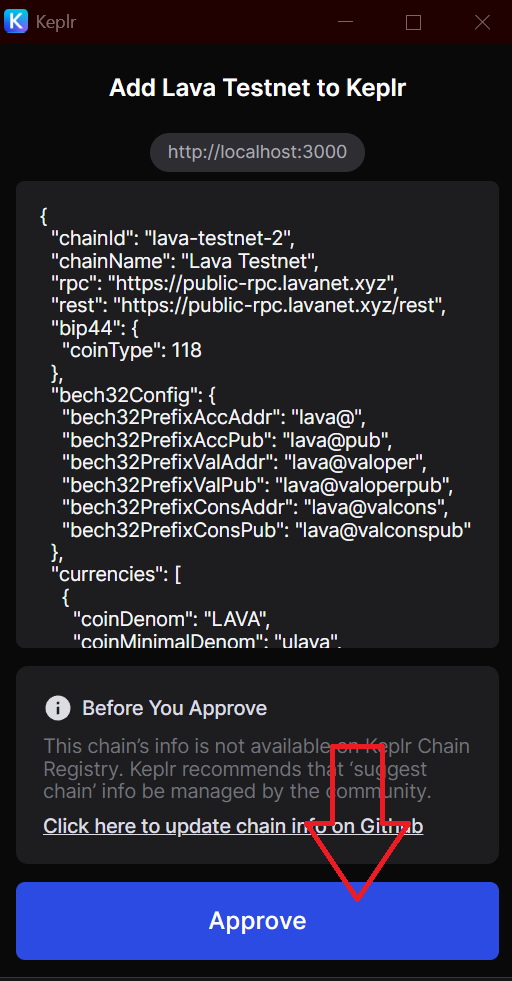
Otherwise, if you already have Keplr you can add Lava chain via search directly in the wallet:
- Type "lava", click "Manage":
- Click "Save" button:
Leap Wallet
- Download and install Leap from here.
- Complete the setup instructions in the Leap extension (Hardware wallet support, tested with Ledger, is available).
- Open the Leap extension.
- Click select chain button on the top menu:
- Type "lava" for filter or scroll to the chain and select it:
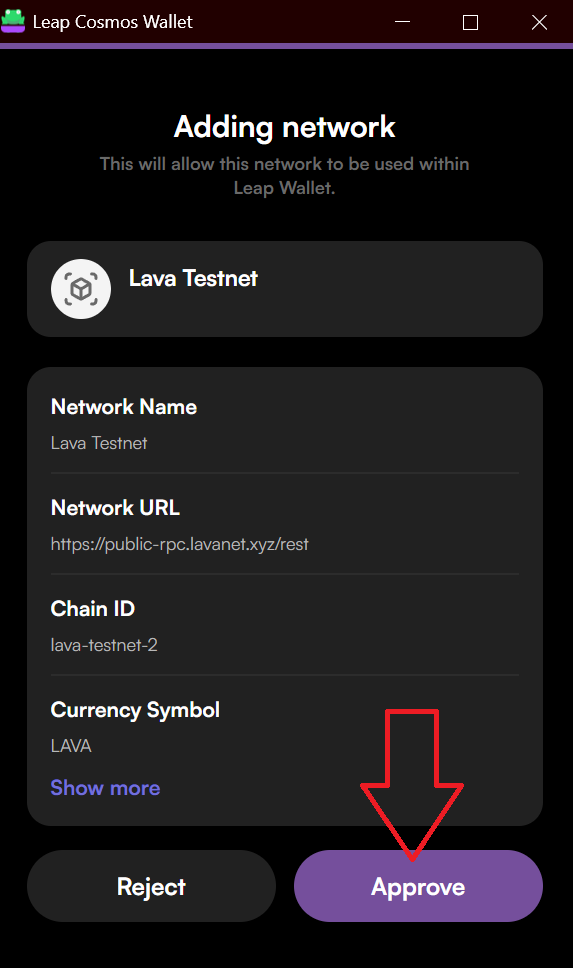
- The wallet will be switched to the Lava chain.
CLI Wallet
This section is intended for advanced users.
The CLI wallet provides various backends, including support for hardware wallets.
Account Preparation using CLI
Choose your preferred keyring backend....
lavad config keyring-backend [os|file|kwallet|pass|test|memory]
Adding a Key
Ensure you understand the implications of storing your private key in your chosen keyring.
- Substitute $ACCOUNT_NAME with your desired account name:
current_lavad_binary="$HOME/.lava/cosmovisor/current/bin/lavad"
ACCOUNT_NAME="name_here"
$current_lavad_binary keys add $ACCOUNT_NAME
Securely store your mnemonic in a safe location, as it cannot be retrieved once lost.
- Verify and locate your account in the keys list:
$current_lavad_binary keys show $ACCOUNT_NAME
$current_lavad_binary keys list
Your public address begins with lava@.
Account Recovery
- Recover an existing account using your mnemonic:
lavad keys add $NEW_NAME --recover
After entering your seed phrase:
$current_lavad_binary keys show $ACCOUNT_NAME
Using a Hardware Wallet with CLI
These steps are specifically for Ledger hardware wallets, which should be updated and have the Cosmos application installed.
Register your Ledger wallet:
$current_lavad_binary keys add $ACCOUNT_NAME --ledger
Always include the --ledger flag in transaction commands when using a Ledger.
$current_lavad_binary tx bank send $ACCOUNT_NAME <lava@target-account> 10000ulava --from $ACCOUNT_NAME --ledger
Multisig Wallets
Creating a Multisig Wallet
- Import public keys of signers:
$current_lavad_binary keys add multisig_imported_alice --pubkey '{"@type":"/cosmos.crypto.secp256k1.PubKey","key":"data1..."}'
$current_lavad_binary keys add multisig_imported_bob --pubkey '{"@type":"/cosmos.crypto.secp256k1.PubKey","key":"data2..."}'
- Verify the imported keys:
$current_lavad_binary keys show wallet_imported
- address: lava@xxxxxxxxxxxxxxxxxxxxxxxxxxxxxxxx...
  name: wallet_imported
  pubkey: '{"@type":"/cosmos.crypto.secp256k1.PubKey","key":"data..."}'
  type: offline

$current_lavad_binary keys show wallet_generated_keyring
- address: lava@xxxxxxxxxxxxxxxxxxxxxxxxxxxxxxxx...
  name: wallet_generated_keyring
  pubkey: '{"@type":"/cosmos.crypto.secp256k1.PubKey","key":"data..."}'
  type: local
- Create a multisig account with imported keys:
$current_lavad_binary keys add $MULTISIG_ACCOUNT_NAME --multisig multisig_imported_alice,multisig_imported_bob --multisig-threshold $THRESHOLD
- $THRESHOLD - defines the number of signers required for a valid signature
- Retrieve the multisig public address:
$current_lavad_binary keys show $MULTISIG_ACCOUNT_NAME
- Example output:
$current_lavad_binary keys add multisig2_of_3 --multisig wallet1,wallet2,wallet3 --multisig-threshold 2

- address: lava@xxxxx...
  name: multisig2_of_3
  pubkey: '{"@type":"/cosmos.crypto.multisig.LegacyAminoPubKey","threshold":2,"public_keys":[{"@type":"/cosmos.crypto.secp256k1.PubKey","key":"data1..."},{"@type":"/cosmos.crypto.secp256k1.PubKey","key":"data2..."},{"@type":"/cosmos.crypto.secp256k1.PubKey","key":"data3..."}]}'
  type: multi
Signing Transactions
For multisig transactions, each signer independently signs the transaction offline.
Transaction Generation
Create a multisig transaction on a shared machine:
$current_lavad_binary tx bank send $(lavad keys show alice-bob-multisig -a) lava@destination-address 10000000ulava --generate-only --chain-id lava-testnet-2 > tx_bank.json
Signing the Transaction
Each signer signs the transaction in their environment:
lavad tx sign --from $(lavad keys show -a alice-ledger) --multisig lava@multisig-address tx.json --sign-mode amino-json --chain-id lava-testnet-2 >> tx-signed-alice.json
or
lavad tx sign --from $(lavad keys show -a alice-ledger) --multisig lava@multisig-address tx.json --sign-mode amino-json --chain-id lava-testnet-2 --account-number X --sequence X >> tx-signed-alice.json
A second signer follows a similar process.
Broadcasting the Transaction
- Create the signed multisig transaction.
- Broadcast the transaction.
lavad tx multisign --from alice-bob-multisig tx.json alice-bob-multisig tx-signed-alice.json tx-signed-bob.json --chain-id lava-testnet-2 > tx_ms.json
lavad tx broadcast ms/tx_ms.json --chain-id lava-testnet-2
Other Wallets
This section is for advanced users.
Use the following parameters to set up a wallet not described in this manual:
- coinType - 118 (standard cosmos wallet type)
- minimal denom - ulava
- prefix - lava@
- coinDecimals - 6
- rpc - "https://lav1.tendermintrpc.lava.build"
- rest - "https://lav1.rest.lava.build"